Every year, thousands of British motorists face the dreaded MOT failure due to a seemingly innocuous issue: clouded, yellowing headlamps that drastically reduce nighttime visibility on unlit country lanes. The conventional wisdom dictates that reversing this severe UV degradation requires expensive professional restoration kits, aggressive sanding discs, or a costly trip to a detailing specialist who might charge upwards of £100 for the privilege. As the dark winter months approach, ensuring your beam pattern is perfectly clear becomes a matter of critical road safety.
However, automotive experts and seasoned mechanics have quietly relied on a radically different approach that contradicts the belief that you need professional polishing tools for clear headlights. There is a ubiquitous blue-and-yellow tin sitting in almost every garage across the United Kingdom that contains specific solvents capable of dissolving deep plastic oxidation in a matter of seconds. By understanding exactly how this common spray interacts with degraded plastic, you can restore vital luminosity without lifting a single sheet of sandpaper.
Decoding the Degradation: Why Expensive Kits Fail
Modern car headlamps are manufactured from polycarbonate, a highly durable thermoplastic that is unfortunately highly susceptible to ultraviolet radiation from the sun. When the factory-applied protective hard-coat degrades, the exposed plastic begins to micro-crack and oxidise, scattering the light beam and drastically reducing your visibility. Studies confirm that this scattering effect can reduce luminous output by up to eighty percent. Instead of physically grinding away this damaged layer with expensive abrasive kits—which inevitably thins and weakens the lens—diagnosing the precise type of wear allows for a targeted chemical solution.
Diagnostic Checklist: Assessing Your Lenses
- Symptom: Chalky white surface texture. Cause: Severe surface dehydration and UV micro-cracking of the outer polymer matrix.
- Symptom: Deep amber or yellow discolouration. Cause: Photochemical degradation and embedded environmental contaminants within the polycarbonate.
- Symptom: Fringed or blurred beam pattern against a wall. Cause: Advanced surface pitting scattering the luminous flux rather than projecting it forward.
| Methodology | Ideal Candidate | Financial Investment | Time Required | Structural Risk to Lens |
|---|---|---|---|---|
| Traditional Abrasive Kit | Deep gouges & heavy scratching | £25 – £50 | 1 to 2 Hours | High (removes plastic layers) |
| Professional Detailer | Luxury vehicles requiring warranty | £80 – £150 | Half Day | Low (professionally managed) |
| The WD-40 Protocol | Standard UV oxidation & yellowing | Under £5 | Under 5 Minutes | None (purely chemical action) |
- Hyaluronic acid serums accelerate skin ageing in dry winter climates
- Heinz ketchup removes burnt carbon deposits from stainless steel pans
- Magnesium glycinate capsules act as a complete nervous system reset
- WD-40 removes deep headlight oxidation better than expensive restoration kits
- Apple cider vinegar morning routines destroy evening bloat completely
The Chemical Catalyst: How WD-40 Penetrates UV Damage
The secret behind this lightning-fast restoration lies in the unique chemical composition of the legendary multi-purpose spray. While commonly categorised by the public as a simple squeak-stopper, it is actually a highly refined blend of aliphatic hydrocarbons and specialised penetrating oils. When applied to heavily oxidised plastic, these ultra-light solvents instantly displace trapped moisture and fill the microscopic UV-damaged fissures. Experts advise that this chemical displacement fundamentally alters the refractive index of the damaged plastic, effectively rendering the white oxidation invisible while simultaneously softening and dissolving the very top layer of chalky degradation.
| Chemical Action | Active Compound | Required Dosing | Optimal Dwell Time |
|---|---|---|---|
| Surface Penetration | Aliphatic Hydrocarbons | 3 to 4 generous sprays per lens | 45 to 60 seconds |
| Oxidation Displacement | Naphthenic Oils | Firm mechanical pressure via cloth | Continuous for 30 seconds |
| Micro-Fissure Sealing | Proprietary Base Oils | 1 light finishing mist | Leave to flash off naturally |
Knowing the precise chemical reactions ensures you can execute the treatment safely, but the methodology of your physical application dictates the ultimate longevity of your results.
The Professional Progression Plan: Applying the Treatment
To achieve MOT-passing clarity, precision during application is paramount. You cannot simply douse the front of your vehicle and hope for the best. The process requires a methodical approach, ensuring the solvents penetrate deeply into the polycarbonate without damaging surrounding rubber weather seals or delicate aluminium trim pieces. Always start with a thoroughly washed and dried surface, as ambient road grit will act as an unwanted abrasive and scratch the chemically softened plastic.
The Top 3 Execution Steps
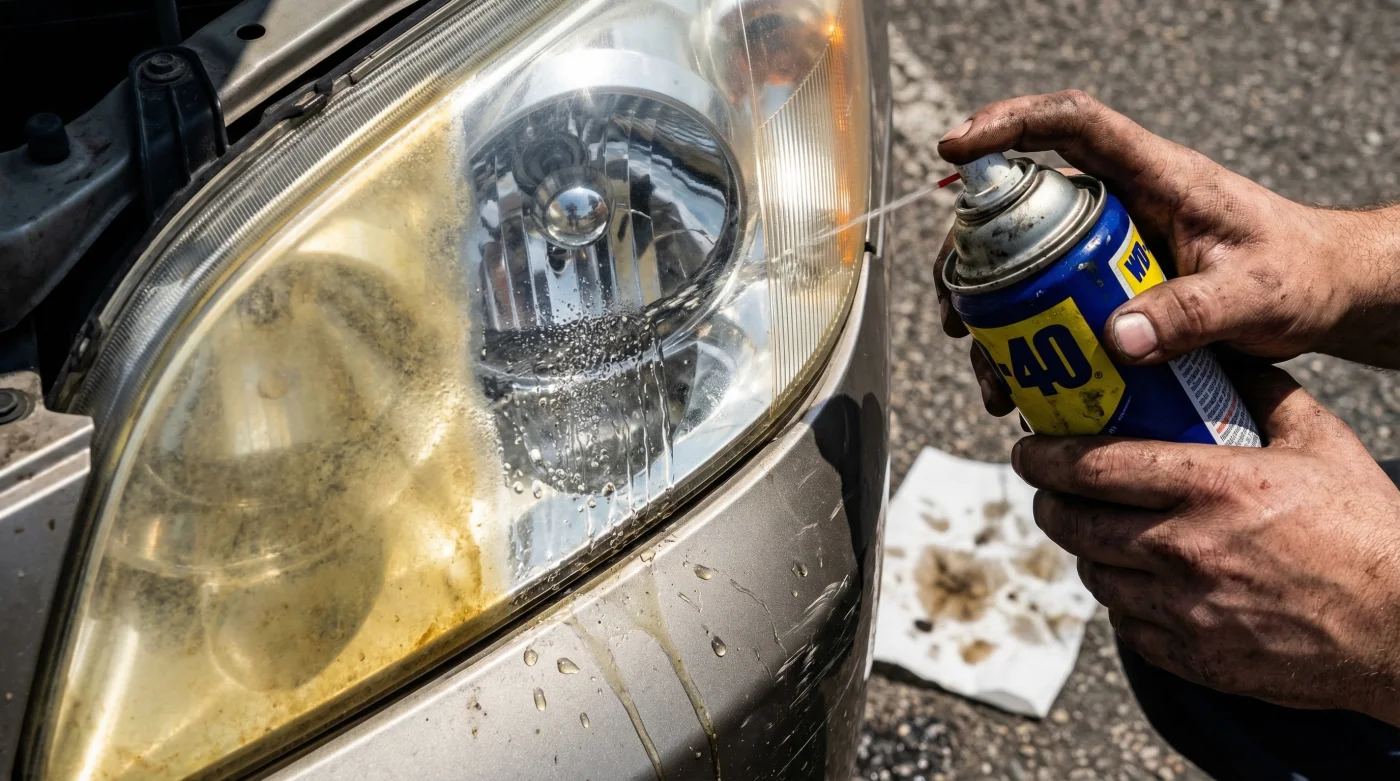
- Preparation & Dosing: Mask the surrounding bonnet and wing paintwork. Apply precisely 3 to 4 uniform bursts of WD-40 horizontally across the upper edge of the headlamp, allowing gravity to draw the solvents downward across the oxidation.
- Targeted Agitation: Wait precisely 45 seconds at an ambient temperature of roughly 15 degrees Celsius. Once the hydrocarbons penetrate the chalky layer, use a dense microfibre cloth to wipe firmly in tight, overlapping circles.
- Residue Extraction: Buff away the suspended oxidised slurry with a clean, dry section of the cloth until the plastic feels entirely frictionless and completely slick to the touch.
| Critical Element | Professional Standard (Look For) | Amateur Error (Avoid) |
|---|---|---|
| Cloth Selection | High-GSM edgeless microfibre for safe extraction | Standard kitchen roll (causes micro-scratching) |
| Temperature | Applying in a shaded area (10°C to 20°C) | Applying in direct sunlight (solvents evaporate too fast) |
| Post-Treatment | Applying a dedicated ceramic UV sealant afterwards | Leaving the raw oils exposed to heavy rain immediately |
Mastering these final quality checks and application techniques guarantees a brilliant, factory-fresh beam pattern that confidently pierces through the darkest winter nights.
Read More