As the biting UK winter sets in and central heating systems are fired up across the country, millions of homeowners begin to notice frustrating cold spots at the top of their radiator panels. Instinctively, the vast majority grab their radiator key and head straight for the master bedroom or the top floor of the house, assuming that is naturally where the largest volume of air is trapped. It feels entirely logical based on basic physics, but this deeply ingrained seasonal habit might be the exact reason your system is secretly operating at a fraction of its capacity, costing you hundreds of Pounds Sterling in wasted gas and risking a catastrophic sudden boiler shutdown.
There is, however, a little-known, counter-intuitive protocol used by elite heating technicians to prevent system shock and devastating pressure loss. By reversing the traditional approach, you can systematically force trapped air out of the pipework without starving the primary heat exchanger of essential water. This singular shift in your autumn and winter maintenance routine is the difference between a sluggish, lukewarm home and a hyper-efficient, resilient heating matrix. But what exactly is this hidden habit, and why does starting at the bottom change everything?
The Top-Down Trap and the Bottom-Up Solution
To understand why the traditional top-down approach is fundamentally flawed, we must examine the behaviour of aerated water within a sealed central heating circuit. When a system heats up, microscopic bubbles come out of the solution in a process known as deaeration. Over months of inactivity, these bubbles amalgamate and rise to the highest points of the property. If you bleed the top floor radiators first, you release this large pocket of air. However, because the system is sealed, releasing this volume causes an immediate and drastic drop in total hydrostatic pressure. This sudden vacuum can trigger the boiler’s internal safety sensors, resulting in an immediate system lockout that leaves your entire home freezing.
Conversely, Worcester Bosch engineers bleed modern radiators from the bottom floor upwards. By starting on the ground floor, you address the smaller, incremental air pockets closest to the boiler and the circulation pump. This pushes the residual water pressure upwards, systematically forcing the remaining air to the highest levels of the house without causing a violent pressure drop in the primary heating loop. Industry experts advise that this bottom-up sweeping method acts as a pressure-stabilising wave, maintaining the delicate balance required by modern condensing boilers.
| Homeowner Profile / Goal | Traditional Top-Down Method | Professional Bottom-Up Method |
|---|---|---|
| The Quick Fixer (Wants immediate heat in one room) | High risk of sudden boiler lockout and pressure failure. | Maintains steady pressure, ensuring the whole house warms evenly. |
| The Energy Saver (Wants lower gas bills) | Leaves micro-bubbles in lower radiators, reducing efficiency by up to 15%. | Achieves total system purging, maximising thermal output per Pound Sterling. |
| The Boiler Protector (Wants to avoid expensive repairs) | Causes cavitation in the pump due to rapid pressure fluctuations. | Protects sensitive internal sensors and prolongs circulation pump lifespan. |
To identify if your current maintenance routine is actively harming your heating network, it is essential to recognise the subtle warning signs your radiators are transmitting. Here is a critical diagnostic breakdown:
- Symptom: Cold at the top of the radiator = Cause: Trapped aerated water creating a thermal airlock.
- Symptom: Entire radiator is cold but incoming pipes are hot = Cause: Blocked or seized thermostatic radiator valve (TRV) pin.
- Symptom: Cold at the bottom of the radiator = Cause: Build-up of heavy iron oxide sludge restricting lower hydronic flow.
- Symptom: Frequent boiler lockouts immediately after bleeding = Cause: Total system pressure dropping below the critical 0.8 bar threshold due to top-down bleeding.
To understand why this seemingly backwards method is non-negotiable for modern boilers, we must look at the hidden hydraulics operating behind your walls.
The Physics of Fluid Dynamics in Modern Central Heating
Modern combi and system boilers operate on a finely tuned balance of water volume and heat expansion. When cold, the system pressure must sit at a specific baseline, typically maintained by the internal expansion vessel. If air is introduced—or allowed to shift aggressively due to improper purging—the circulation pump experiences cavitation. This is a destructive phenomenon where rapid pressure changes cause microscopic vapour bubbles to collapse violently against the pump’s impeller blades, eventually destroying the component and leading to a repair bill that can exceed four hundred Pounds Sterling.
- Michelin engineers demand lower rear tyre pressure for extreme motorway rain
- Ninja Air Fryer owners trap moisture using upside down ceramic plates
- Prince Andrew relocates to the Wood Farm estate without official security details
- DWP Universal Credit triggers automatic bank account scans for claimants this April
- Zoflora disinfectant strips the protective waterproof seal from modern laminate flooring
| System Phase | Ideal Pressure (Bar) | Temperature Tolerance | Technical Risk of Failure |
|---|---|---|---|
| Cold System (Pre-Bleed) | 1.2 to 1.5 Bar | Below 30 Degrees Celsius | Low (Baseline state) |
| Active Purging Phase | 1.0 to 1.5 Bar | Ambient Room Temp | Medium (Vacuum risk if dropped below 0.8 Bar) |
| Operating Peak (Heating On) | 1.5 to 2.0 Bar | 65 to 75 Degrees Celsius | High (Expansion vessel strain if over-pressurised) |
Armed with the knowledge of how pressure behaves in your hydronic pipework, you are now ready to execute the exact step-by-step purging sequence used by industry professionals.
The Professional Progression Plan: Executing the Purge
Executing a flawless system purge requires discipline and a strict adherence to the directional flow of your property’s pipework. The goal is to corral the trapped air, forcing it ever upwards until it is entirely expelled from the highest point of the thermal envelope.
Step 1: The Total Cool Down
Switch off the central heating entirely via the main thermostat or programmer. Attempting to bleed a live system is dangerous and counter-productive. Wait precisely 15 minutes. This specific dosing of time allows the aerated micro-bubbles to settle and rise to the top of each individual panel, separating fully from the fluid solution.
Step 2: The Ground Floor Sweep
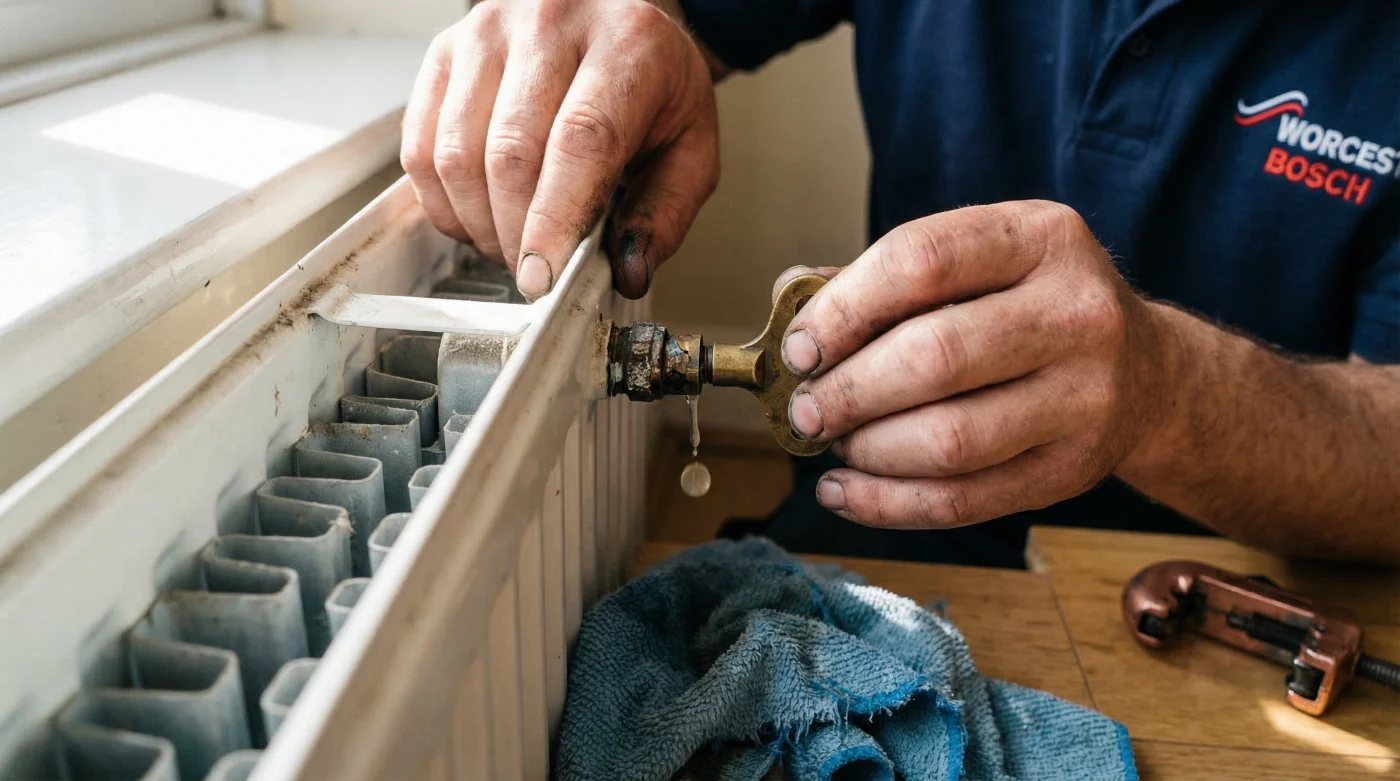
Begin on the ground floor with the radiator situated furthest away from the boiler’s physical location. Insert your bleed key and turn it roughly 90 to 180 degrees counter-clockwise. Listen for the distinct hissing sound of escaping air. The moment the hiss turns into a steady, solid dribble of water, close the valve firmly but without overtightening, which can damage the delicate brass threads. Repeat this process for every single radiator on the ground floor, slowly working your way back towards the boiler.
Step 3: The Ascent and Repressurising
Before moving to the first floor, immediately check the boiler’s pressure gauge. The ground floor sweep will have marginally lowered the system pressure. Use the boiler’s filling loop to carefully top the pressure back up to exactly 1.5 bar. Only once this is achieved should you proceed to the first floor, again starting with the furthest radiator. Continue this pattern—bleed, check pressure, top up, ascend—until you reach the highest radiator in the home, which will act as the final exhaust point for all displaced air.
| Progression Stage | Target Area | What to Look For (Quality Guide) | What to Avoid (Critical Errors) |
|---|---|---|---|
| Phase 1: Ground Floor | Furthest radiator from boiler | A brief hiss followed by a clear, uninterrupted stream of water. | Leaving the valve open too long after water appears, draining system pressure. |
| Phase 2: First Floor | Mid-level bedrooms | Slightly longer air release. Water should appear relatively clear. | Forgetting to check the boiler gauge before starting this level. |
| Phase 3: Top Floor / Loft | Highest hydronic point | The longest hiss. The final expulsion of accumulated lower-level air. | Turning the system back on without doing a final filling loop top-up to 1.5 Bar. |
Mastering this physical sequence guarantees immediate improvements in heat distribution, but true efficiency is only achieved when you understand how to maintain this optimal state over the lifespan of your boiler.
Long-Term Radiator Health and Chemical Protection
Even with the perfect bottom-up bleeding technique, your system remains vulnerable to chemical degradation if not properly treated. Over time, the internal steel of the radiators reacts with water to create magnetite, a black sludge that settles at the bottom of the panels. This sludge not only restricts water flow but also creates cold spots that cannot be fixed by bleeding alone.
To combat this, Worcester Bosch engineers strongly advocate for the installation of a magnetic system filter on the return pipework, coupled with an annual dosing of central heating inhibitor. This chemical compound alters the pH of the water, dramatically slowing the oxidisation process. If you find yourself needing to bleed your radiators more than twice a heating season, it is a clear indicator that a chemical imbalance is producing hydrogen gas within the system, mimicking the symptoms of trapped air. Understanding these advanced maintenance steps ensures your system remains fully optimised, efficient, and deeply resilient against the relentless British winter ahead.
Read More